Visit Manager Pro User Manual
The database and this manual are under Continuous Development, please contact [email protected] for direct help with database
System Menu
Company Details
This is where you will be able to complete all your company details, from the sign up only the minimum amount of content is needed to ensure a unique company, and from this link you can complete all the other details
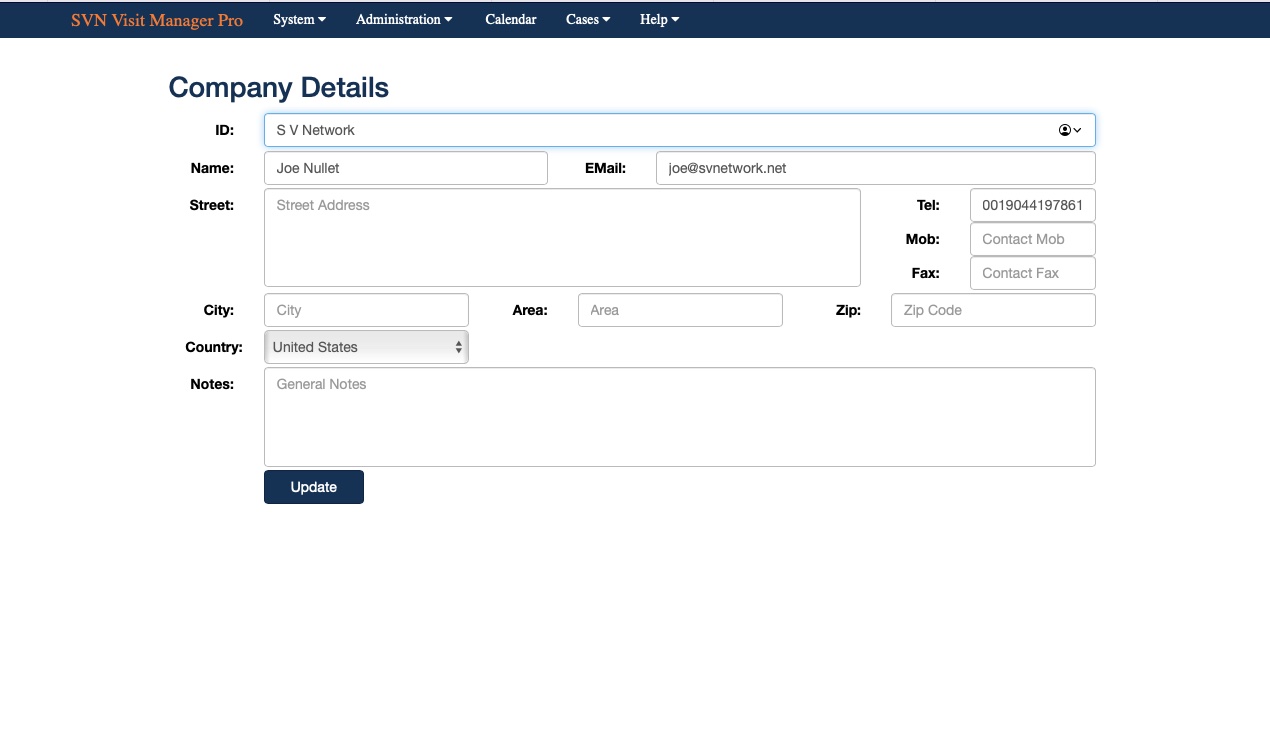 The email address and password do not represent any login, simply a main company registration, so changing any of these will not change the login details as set during the setup. The email address and password do not represent any login, simply a main company registration, so changing any of these will not change the login details as set during the setup.
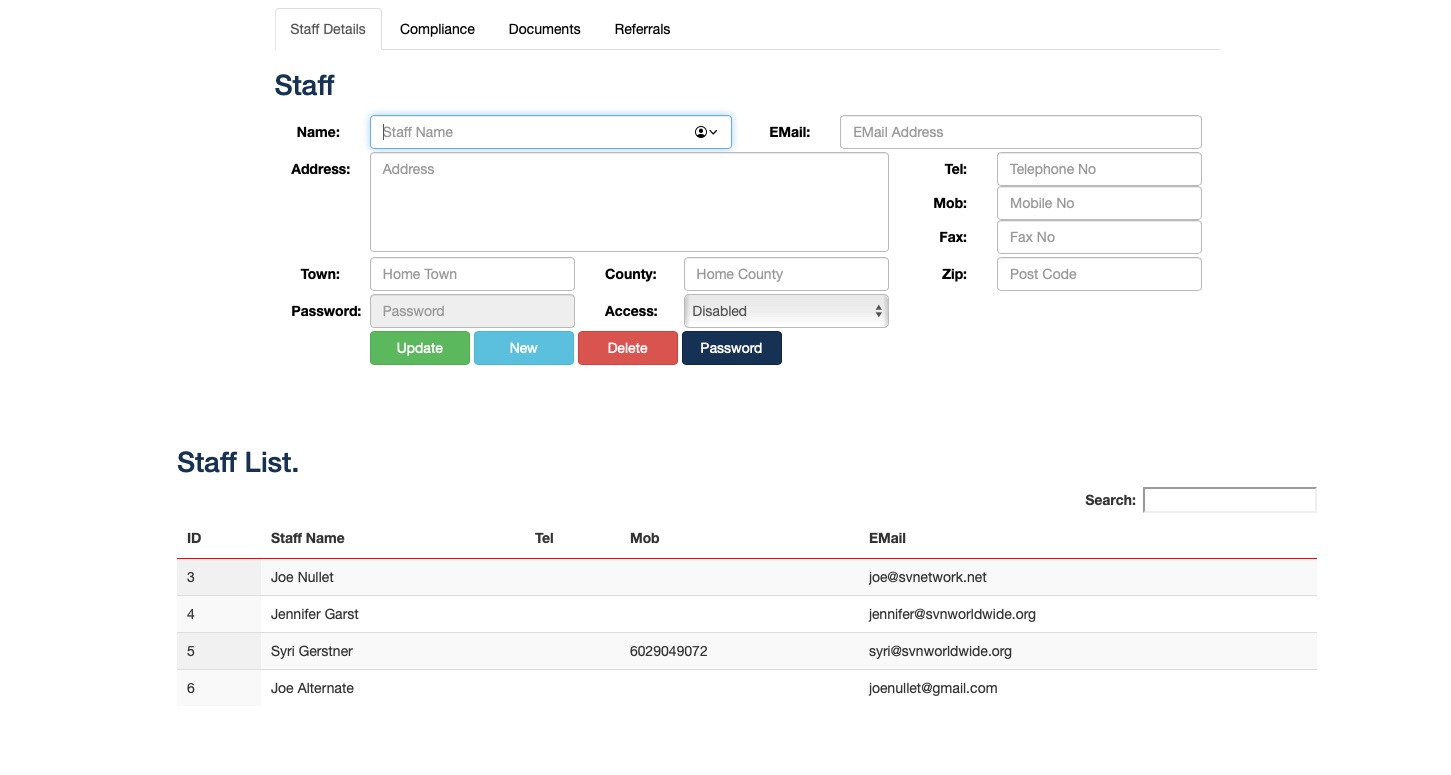
Staff
From here you can add more staff members, when a new staff member is added a strong password will be created, this can be overwritten, but we strongly suggest you keep password as strong as possible.
Logout
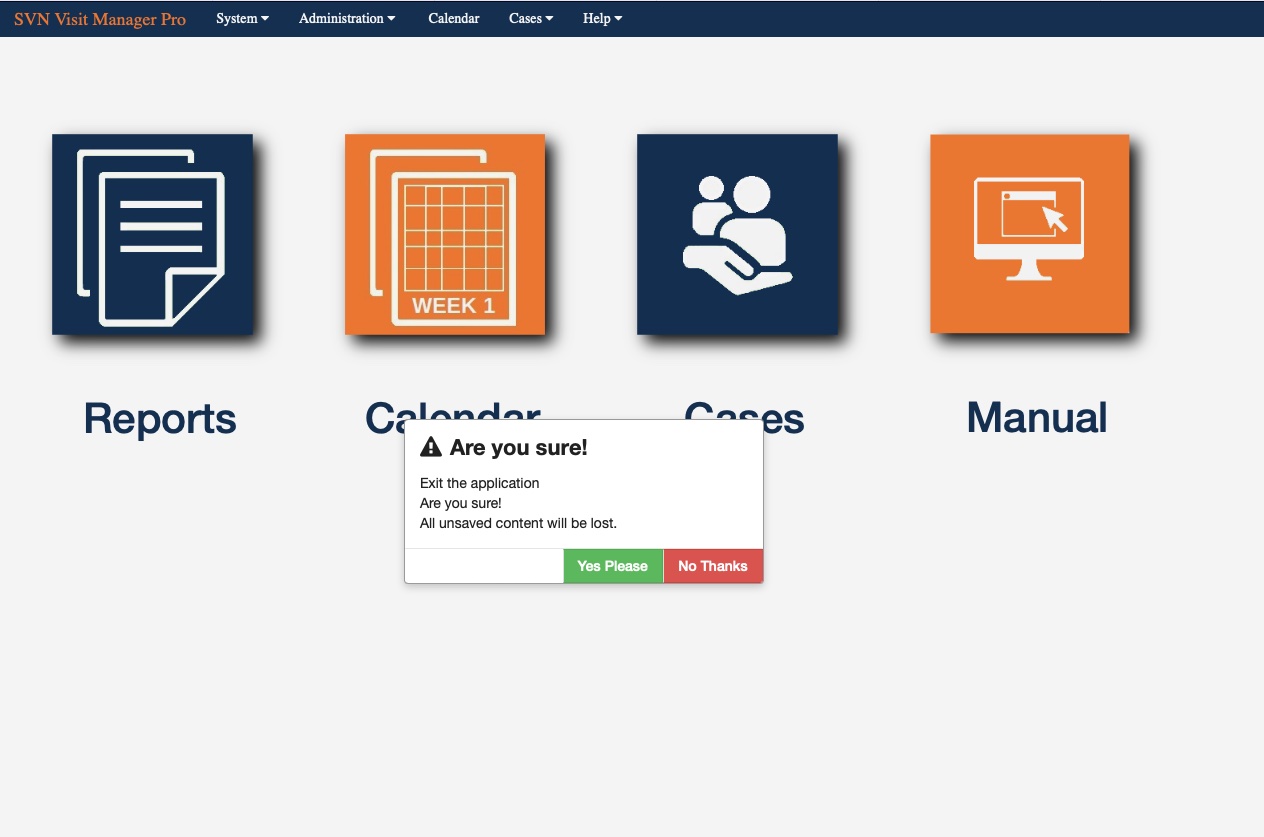
A secure logout is always advised so people cannot simply open the browser last page and move back to the last page used, this logout will remove the session data used thought the application, so it is always recommended to exit the application this way.
You will be directed to the login page again once safely logged out.

Administration Menu
Under the administration menu you will set up all common items, this offers two advantages, common statements under all reports and history so individual do not need to use different names etc for various common items.
Also save time once added, this will minimize time when updating or adding new history, family details and expense type item
Source of Referral
This is who is sending you the referral, this can be a local council a central distributor and or private referral, this will ensure common wording regarding the referrer when you set up a new referral, this again will be used in your reporting, billing and history.
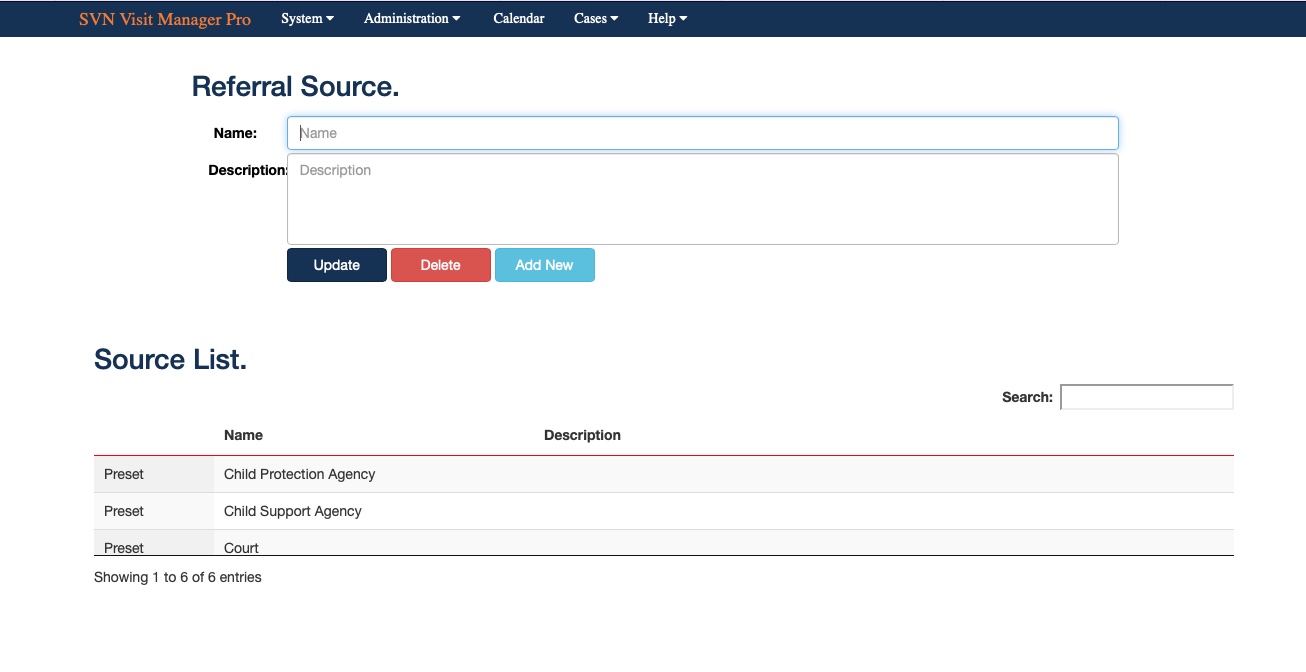
As many referrers as you need can be created here, and used during the referral setup eliminating typing errors and the subsequent problem this may cause.
Locations
Meeting places can be set here, this could be your own contact centre or some other location like a church hall, a cafe or McDonald for example, there will be many locations used on a regular bases and entering the location once will save the time in future in creating these location in the sessions.
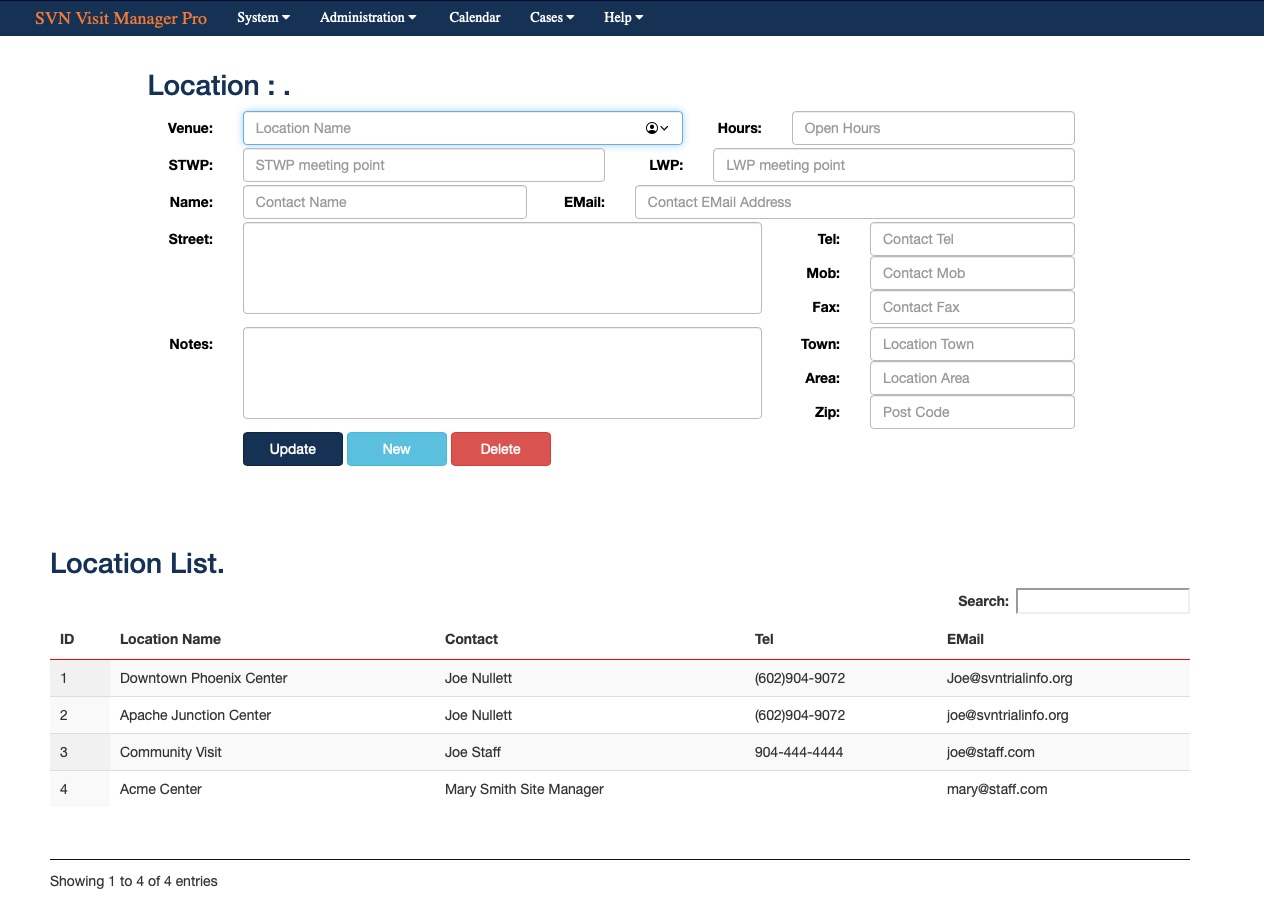
As will all these items as many locations can be added, once done they can be selected at the time of setting up a session.
Relationship Codes
Here we create a list of relationship codes, there are used in the referrals when new people are given access, this will make it easier to show the relationship of an individual to the child, and will reduce typing when applying additional people to the referral.
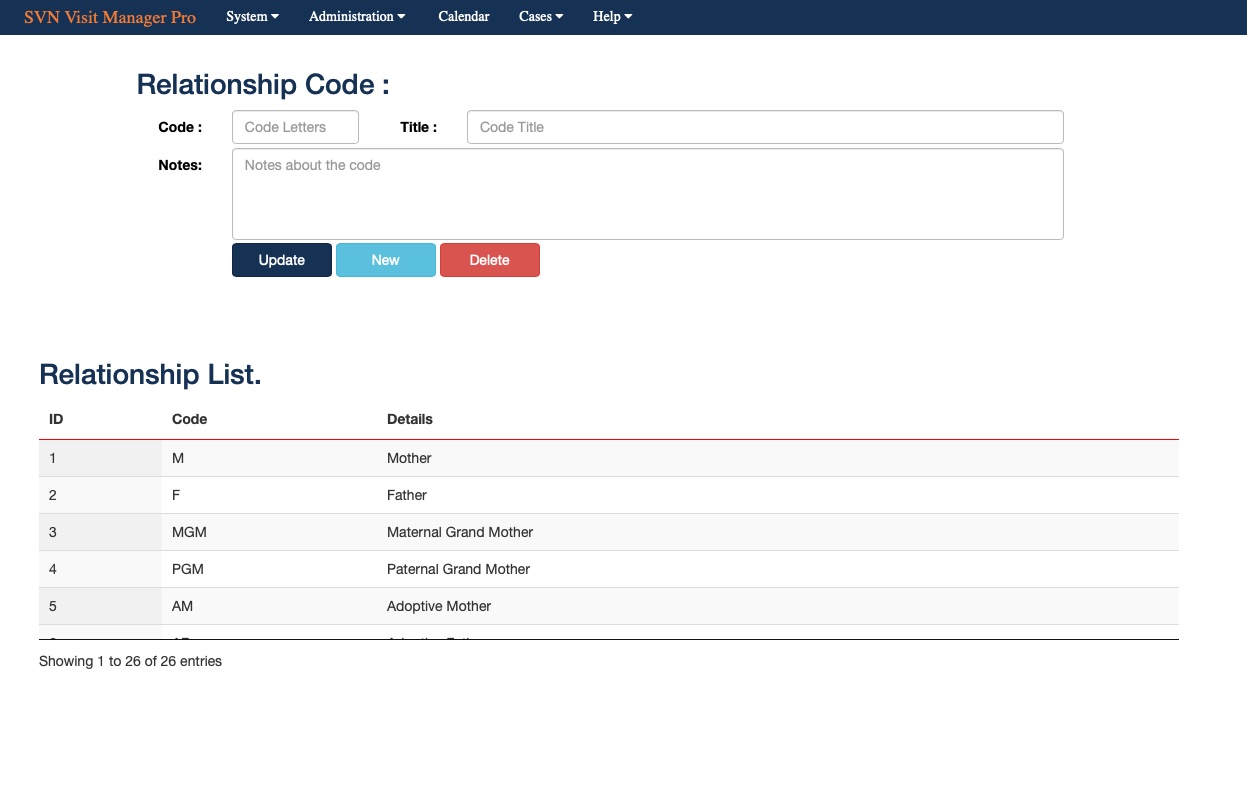
This is pre-populated with commonly known codes, these cannot be edited but as many additional once can be added whenever there is a need, ones set up by you are editable.
Medical Issues
A pre populated list of possible medical issues are listed here, when setting up the child any medical requirements can be added so the information is readily available.
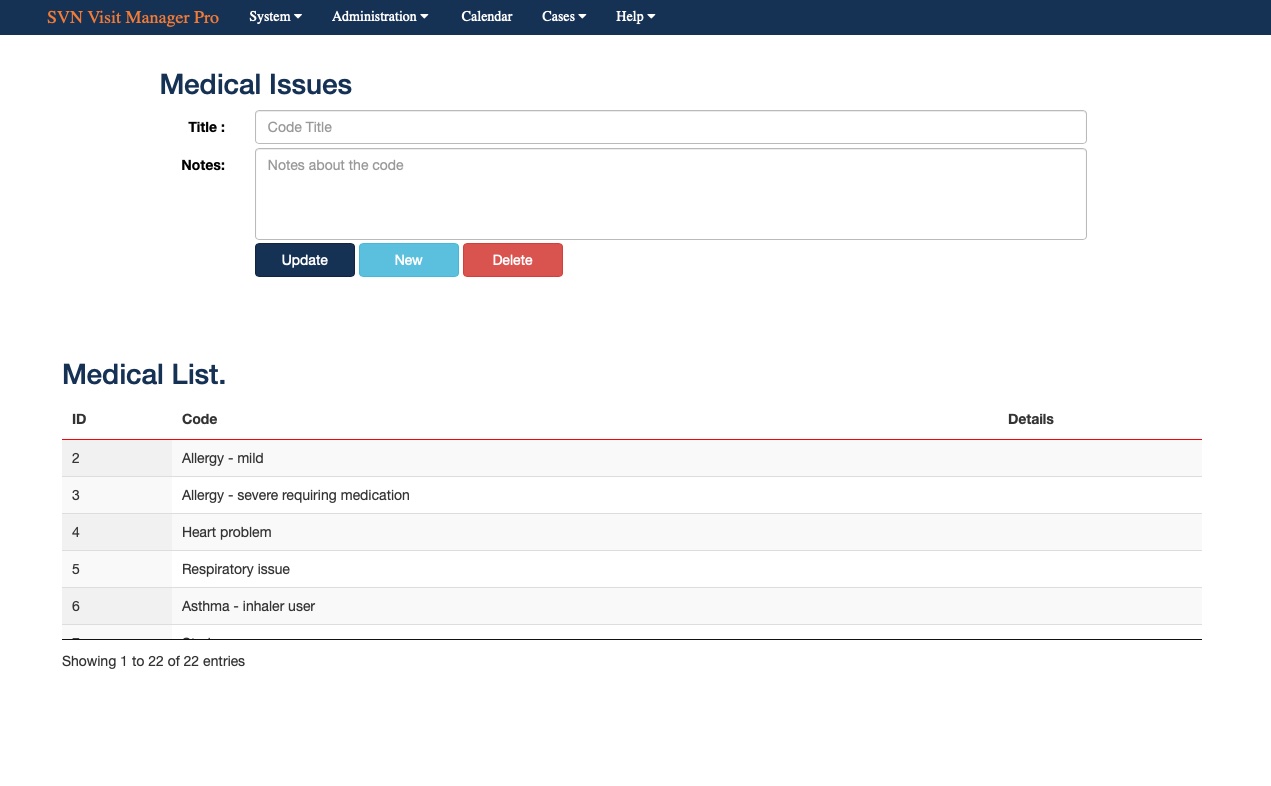
As with the relationship codes the pre-set ones cannot be edited, but you are free to add as many others as you wish, which can be edited or deleted.
Diet Issues
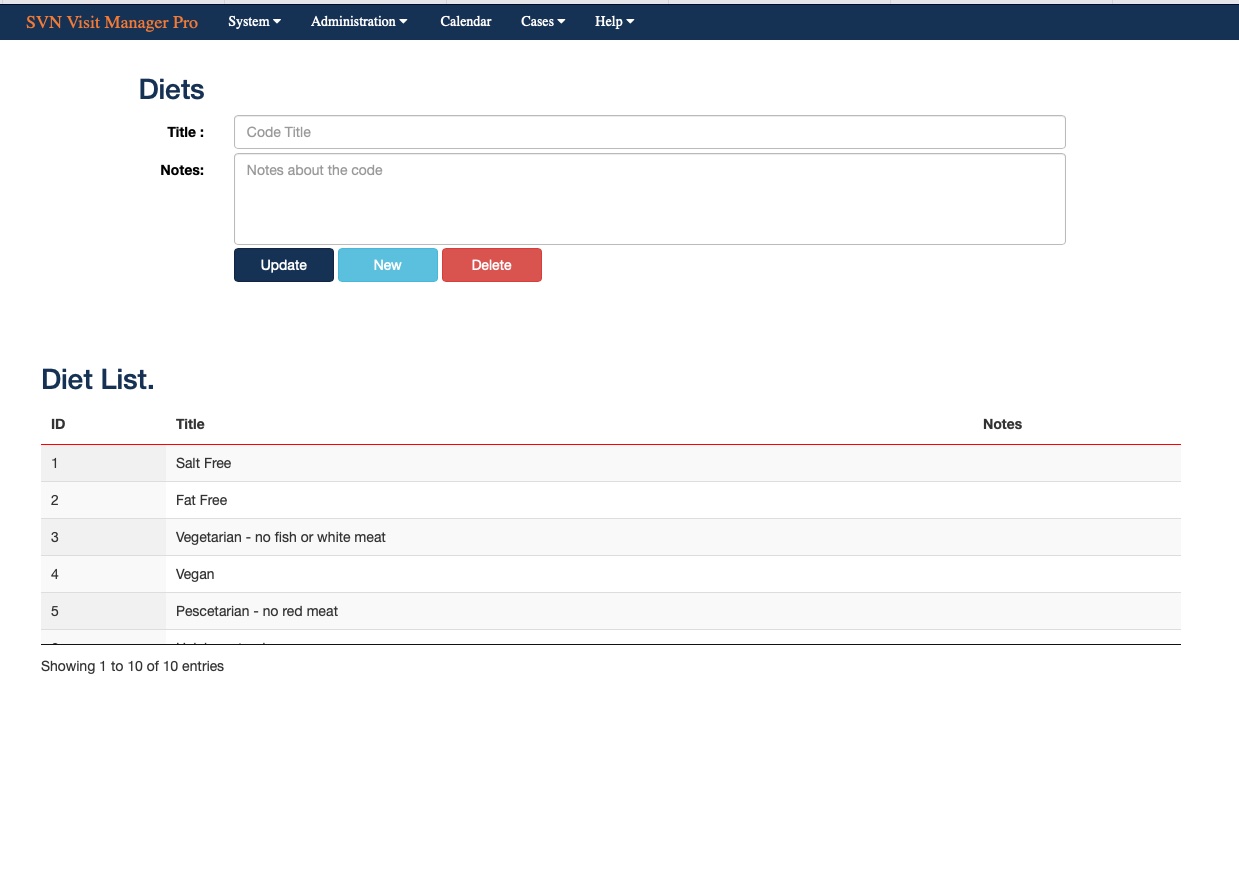
Here are a pre-populated range of common dietary conditions, these are available to assign against the child so any such requirements are available everyone dealing with the child, as will the other items in this section pre-populated items cannot be modified, but you can add as many of your own as you wish.
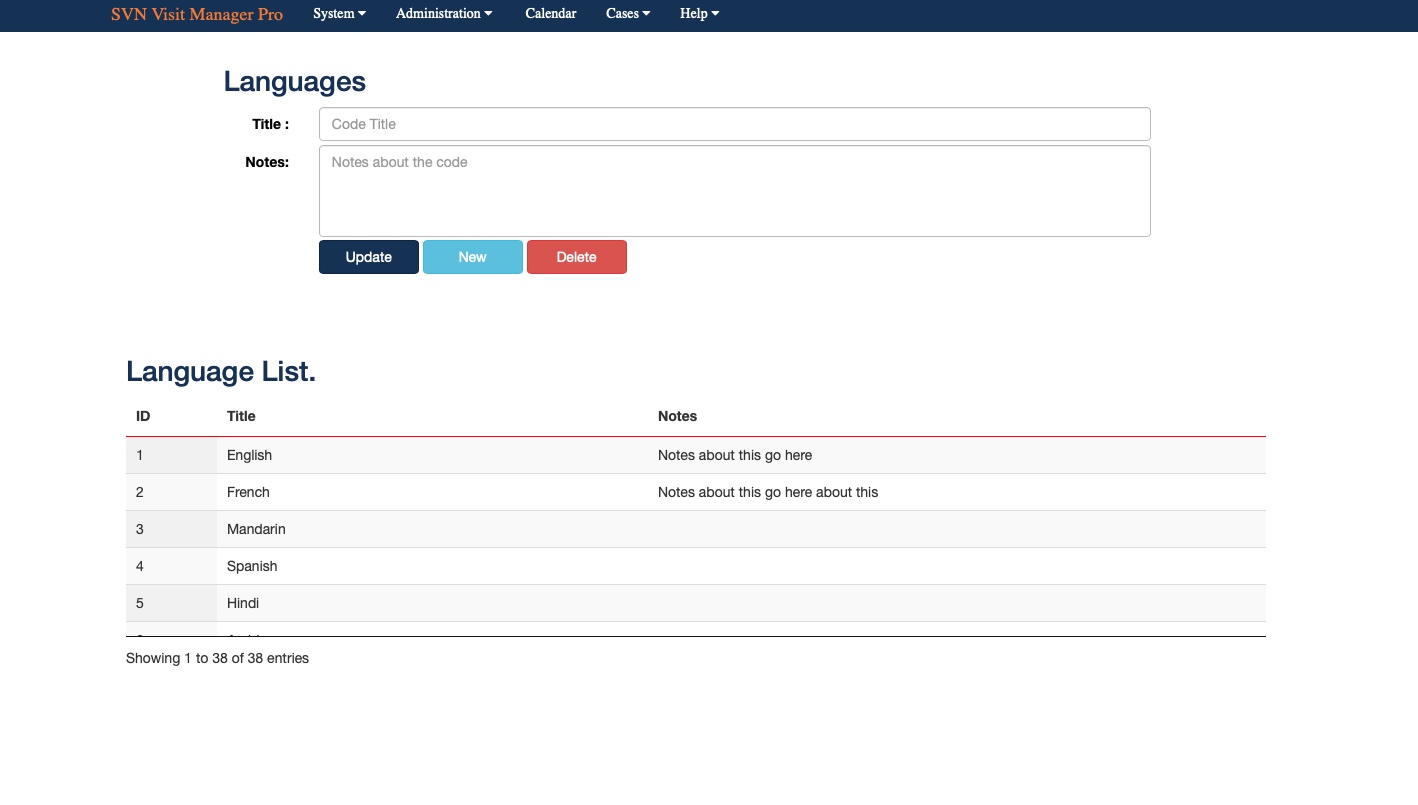
Languages
Pre-populated list of common languages, these are then available to assign to the child for reference and special language awareness such as interpreters, as will the other items in this section pre-populated items cannot be modified, but you can add as many of your own as you wish.
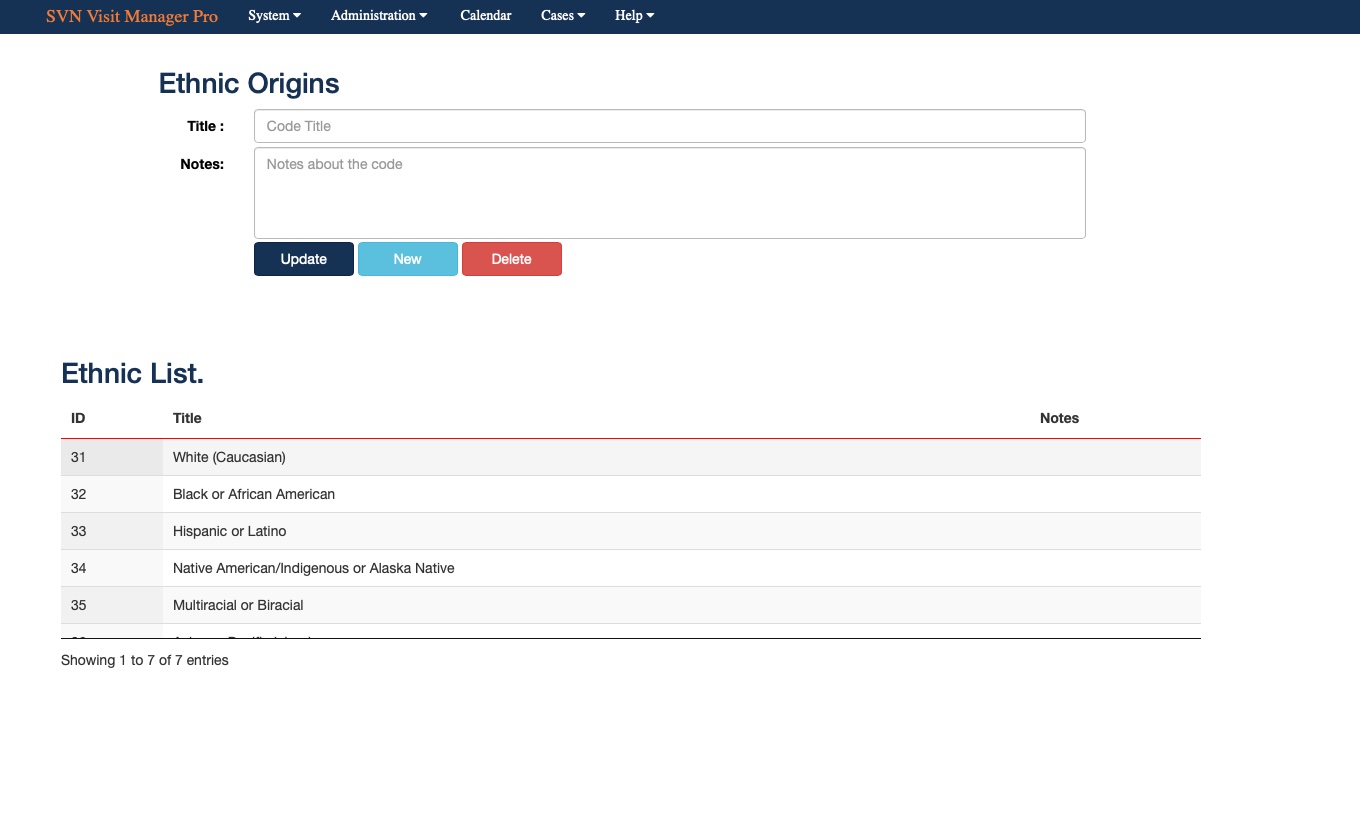
Ethnic Origins
Pre-populated list of common ethnic backgrounds, these are then available to assign to the child for reference and special needs, as will the other items in this section pre-populated items cannot be modified, but you can add as many of your own as you wish.
Cases Menu
This is where you will be able to use all the back end date you have added under the administration menu, At present there is a Contact referrals menu item which will allow you to manage all aspects of the referral, family, meetings attendee's staff, expenses etc.
Open Cases
Here you can enter the details from a referral, the referral ID will be created automatically when a new referral is saved, this unique key will be used to relate all actions etc to this referral.
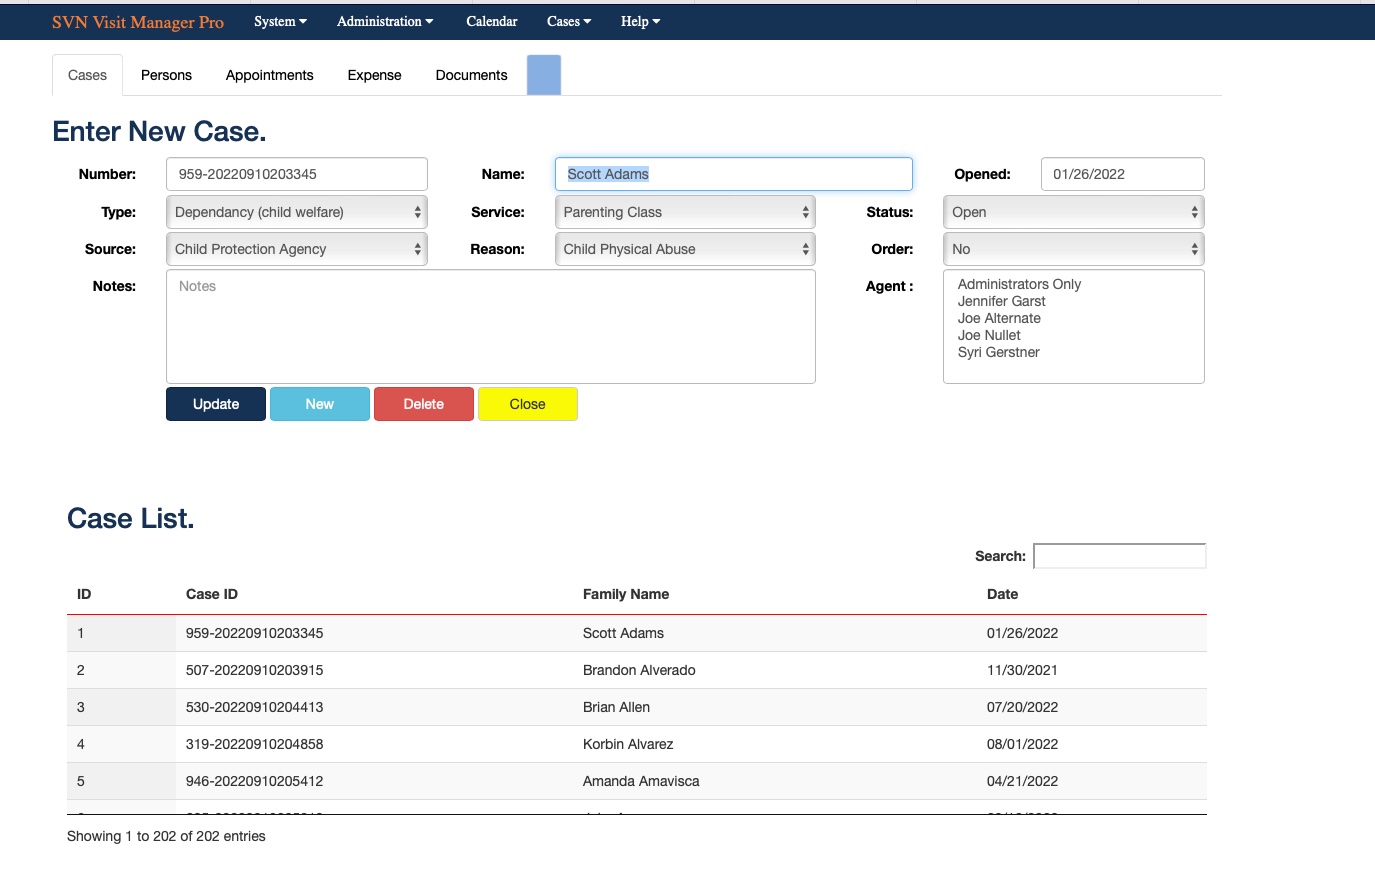
As you will see it is a simple form for initial setup, enter the Family name, select the referrer from the drop down add the referrers telephone and email if needed and select the referral date.
You can set the referral as Open, Closed or Other, any notes needed can be added at this point. You can also use this page to transfer the entire information to another contact centre.
Persons Tab
This is where you you can enter persons allowed access to the primary person (i.e. the child) a lot of information is available on this page with all relative details where appropriate, like placements, schools, Case holder etc.
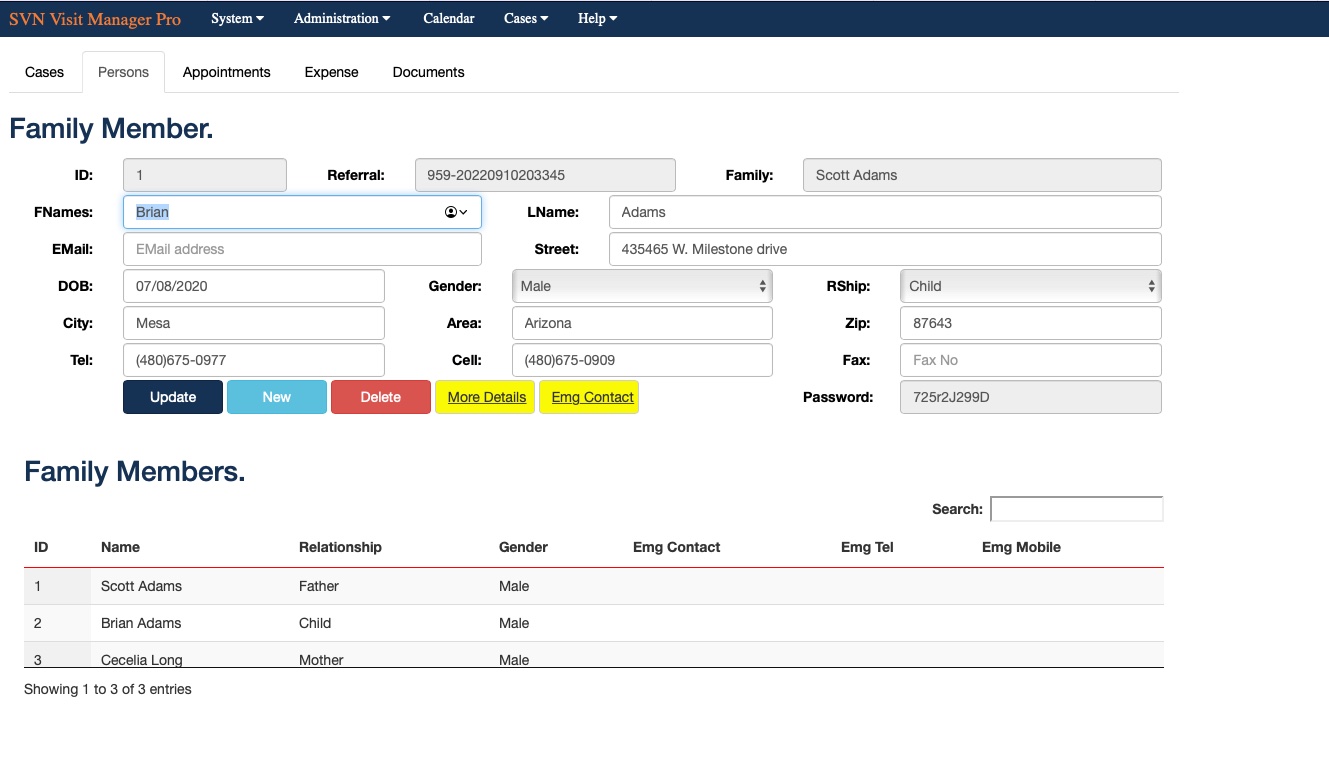
You can add, or update as many people who are aloud access to this information along with all contact details. The list at the bottom shows at a glance who can attend, if they are not on the list they will not be able to be added to any sessions.
There are also two buttons More Details, this is the various information for this individual like diet, legal etc, there is also a Placements button, here you can add new placements and see a history of previous placement for this individual.
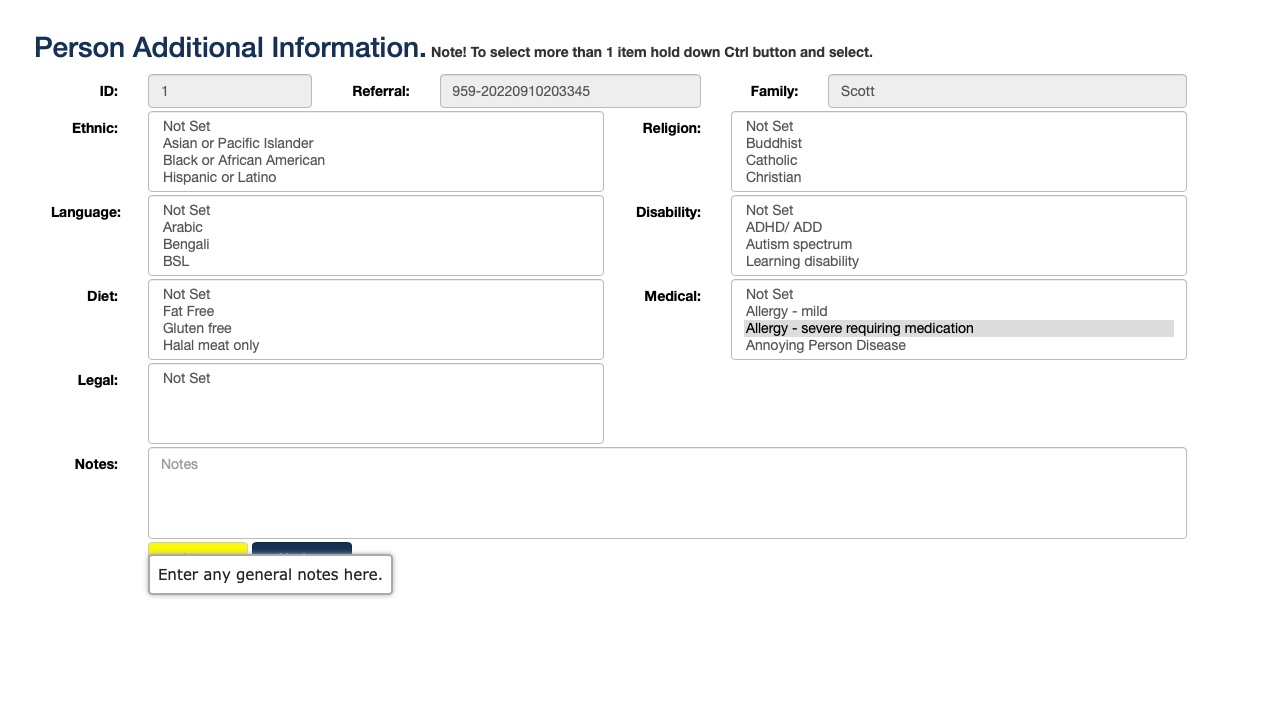
More Details
All sorts of information about the status of the person can be selected from the drop down items, these are brought from the various setting you added, or default ones in the various admin items.
Appointments
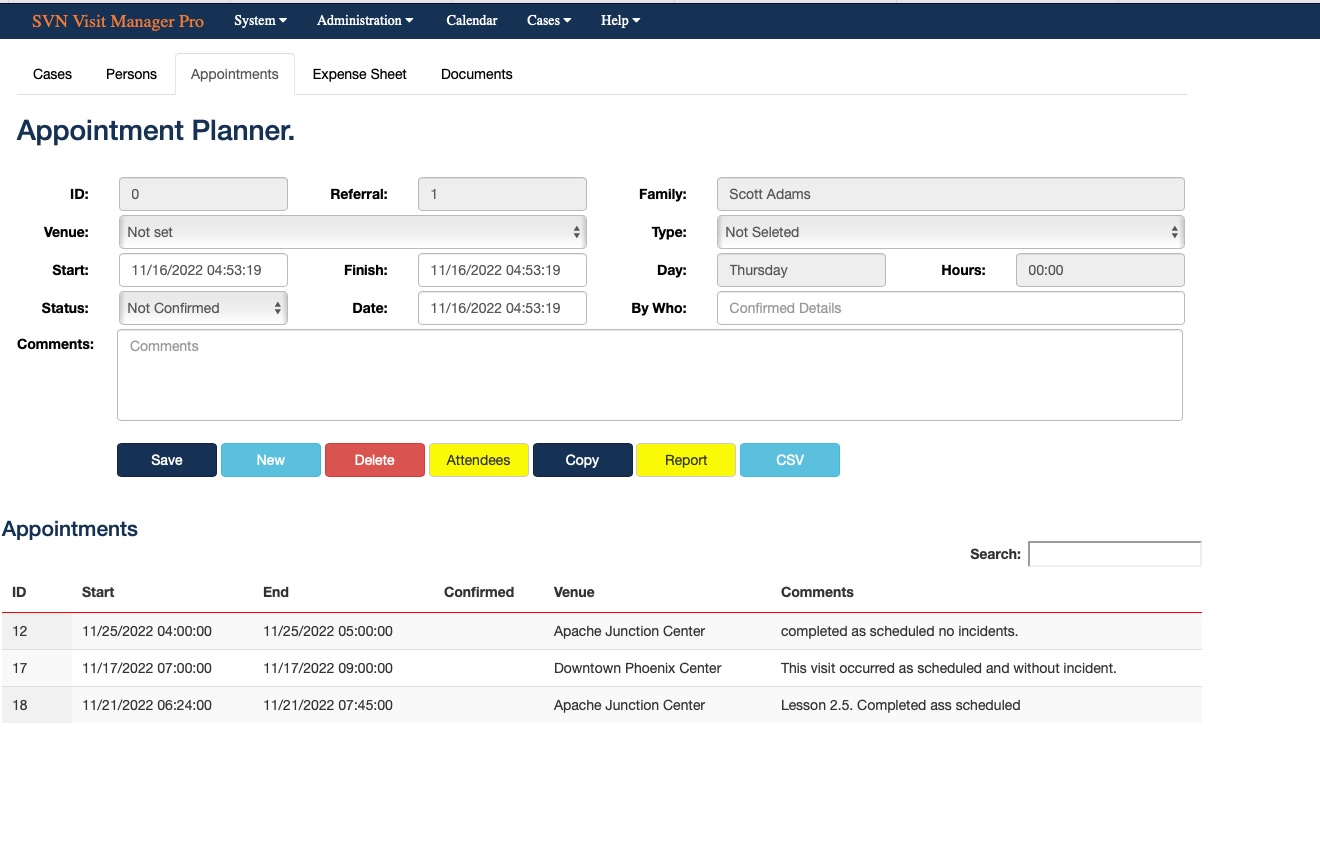
This is where you can assign appointments, meetings locations and both family and staff to any particular session, the table at the bottom shows all sessions with this family/referral so they can be brought back and edited at any time.
As we as things like Venue, start date and time, end date and time, you also have the status of if the session has been confirmed, when and by who, comment are available to add any general comments needed for this session.
Session (Appointment) Attendees
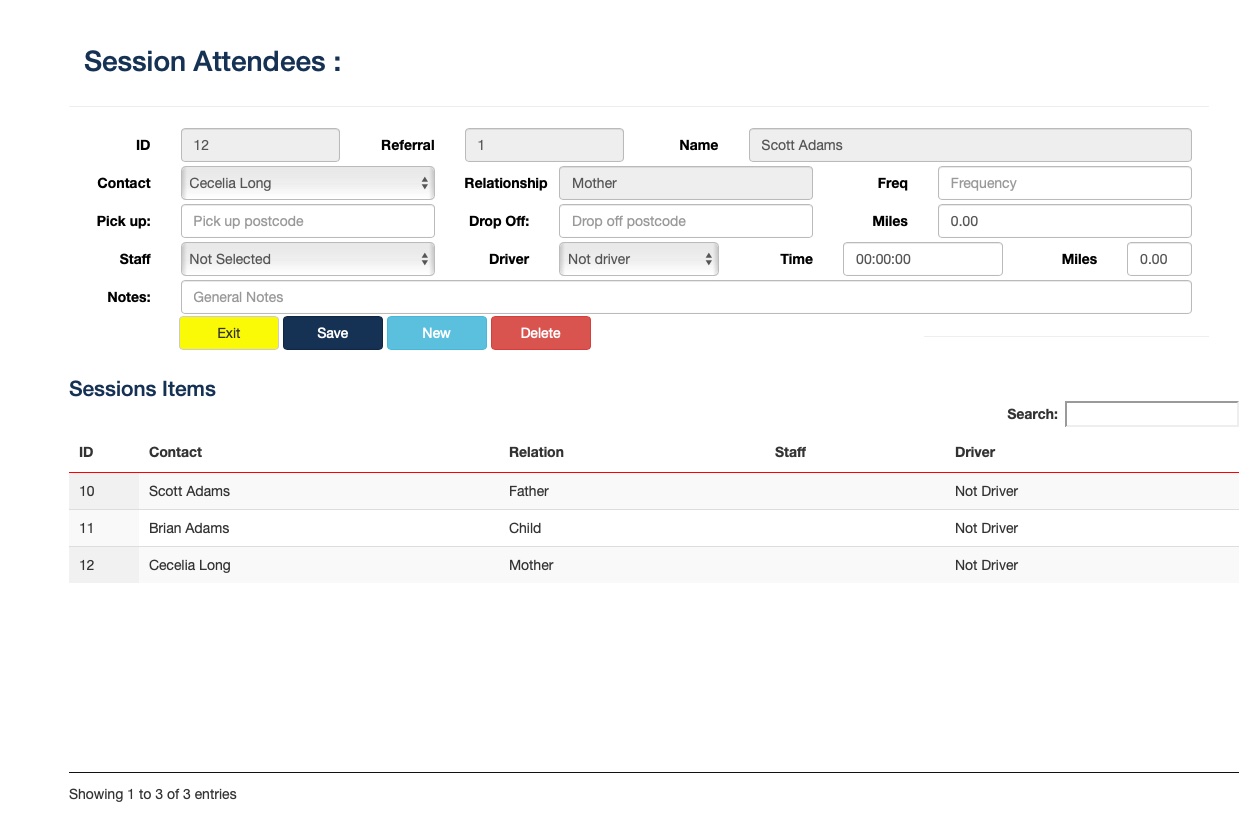
From the Attendees tab you can enter many like Family member from the allowed persons, staff members, pickup location, drop off location Miles travelled, if a driver or not travel times and any additional miles.
Expenses
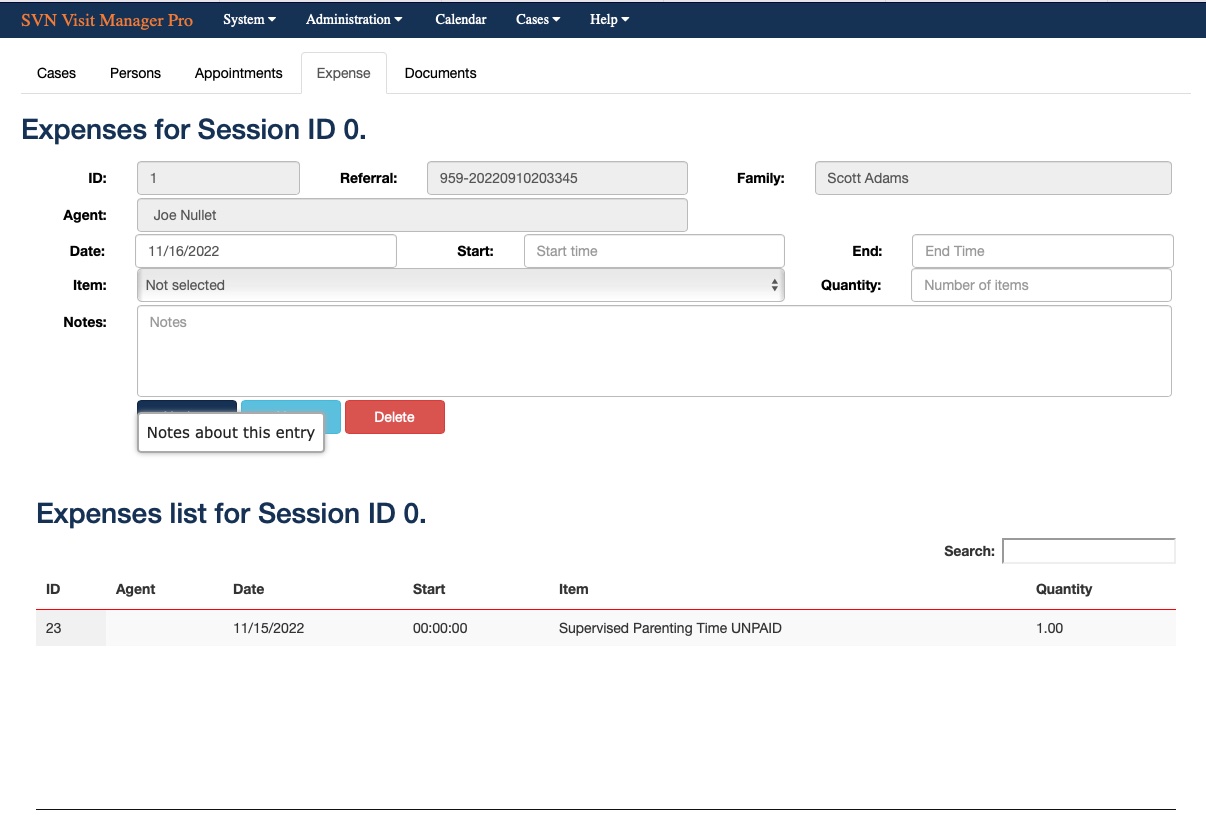
The final tab in this section is where you can add expenses to any session, everything relates back to the referral, family and individual session, so expenses and be applied to each visitation session.
Calendar
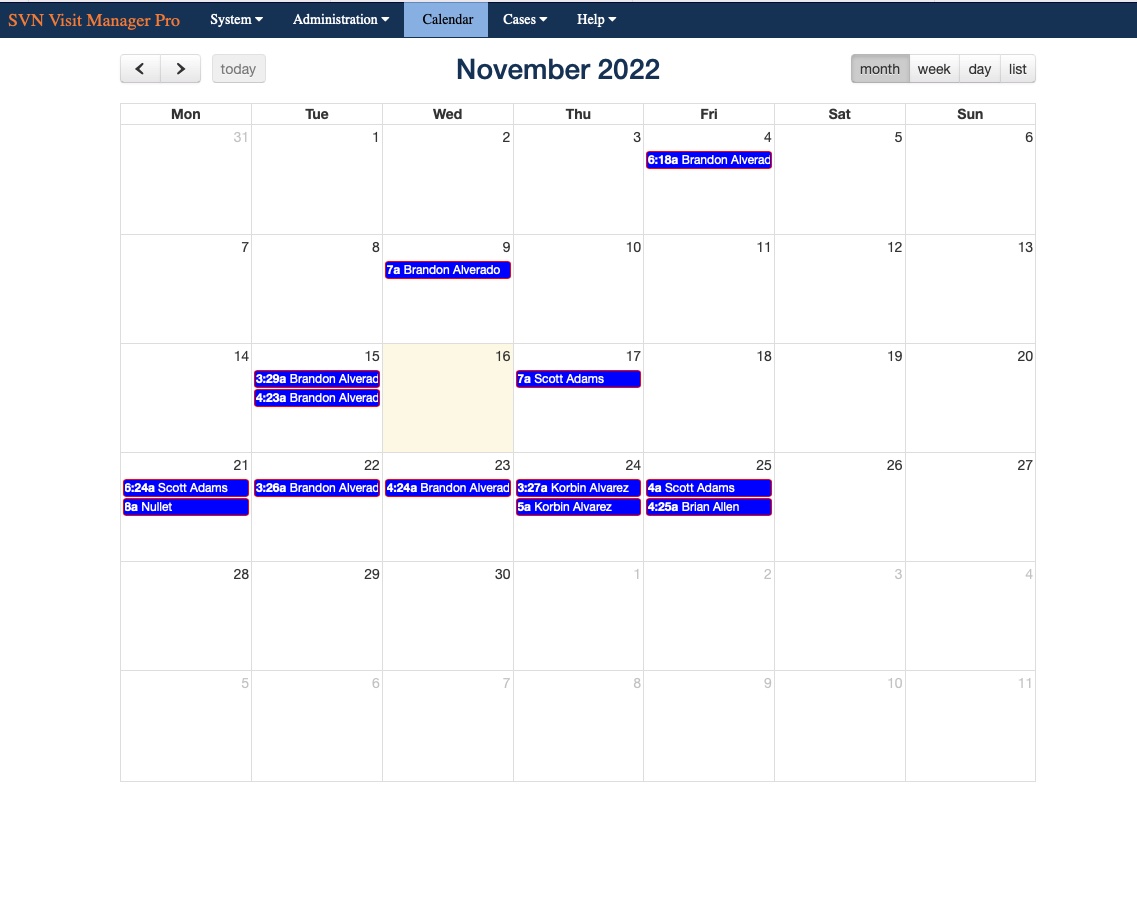
This is a over view of planned meetings family, locations etc, to reduce the amount of information on each row we have added a facility the when you click on the session all further information will be displayed as a pop up.
This information include which family members are attending, the staff members, drivers, pickup and drop off locations, expenses etc. This will smooth the daily, weekly, monthly or even annual over view of these sessions, dates are selected by the two date fields.
|


